Doe
2. Gorge: Bear Cage Road (Blevins Bridge) to Highway 19E bridge at Hampton High School
March 2, 2003
| Reporter | Daniel Fosbinder |
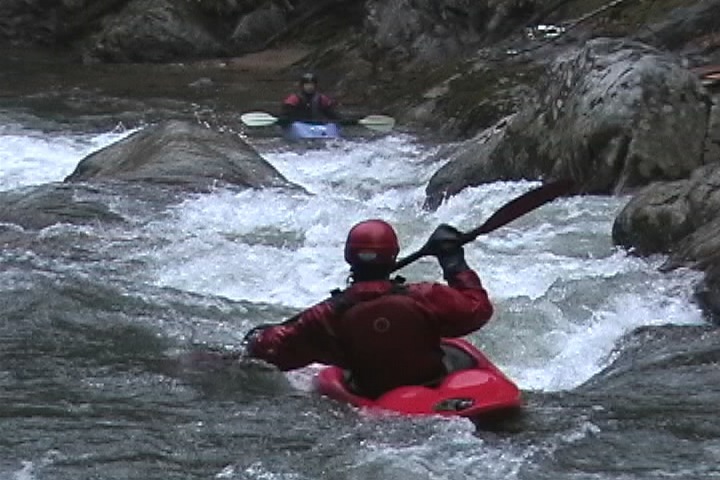
Falling into a seam on a typical drop on the Doe. Clutch roll required, this river is shallow until it's around 1000 cfs.
John lining up to head towards the slot drop on the Doe. Both slots (left and middle) are clean but the left is REALLY tight, head towards the middle.
John gets closer to the slot, he's right on line.
John disappearing into the middle of Toaster Slot on the Doe.
Side view of the middle slot drop on the Doe. Alan keeps his paddle parallel to his boat. Holding it perpendicular will cause it to get stuck in the slot.
John entering Body Snatcher through the far left river side.
Alan catches the eddy behind the boulder as soon as he enters the rapid on the river left side. From here he can ferry over and run far river right working back to the middle, or just boof off a center ledge.
Alan boofs off the center ledge, the better choice at higher flows.
Alan is midway through Body Snatcher. From here he will curve towards river right and catch a big eddy before running the final drop of Body Snatcher.
Alan dropping over the last ledge of Body Snatcher. Aim towards the left side of the drop to avoid the hole that develops here at higher flows.
Daniel Fosbinder prepares to boof the final drop of Body Snatcher, shot from below the drop.
Daniel Fosbinder boofs into the final drop of Body Snatcher. You want to land with a slight left angle.
John midway down Escalator, a long, rock-filled rapid.
John on line, headed for the final boof rock in Flagpole (aka Escalator)
John catches air off the final boof at the bottom of Escalator.
This is the reason you enter Escalator on the far river left...a diagonal hole will surf you to far river right, and the rest of your run down Escalator will suck.