Buffalo
1) Dixon Ford to Boxley Bridge (15 Miles)(Hailstone)
| Difficulty | II-III+ |
| Length | 15 mi |
| Avg Gradient | 33 fpm |
| Gauge | Buffalo River Near Boxley, Ar |
| Flow Rate as of 18 minutes | 21 cfsbelow recommended |
| Reach Info Last Updated | May 24, 2025 |
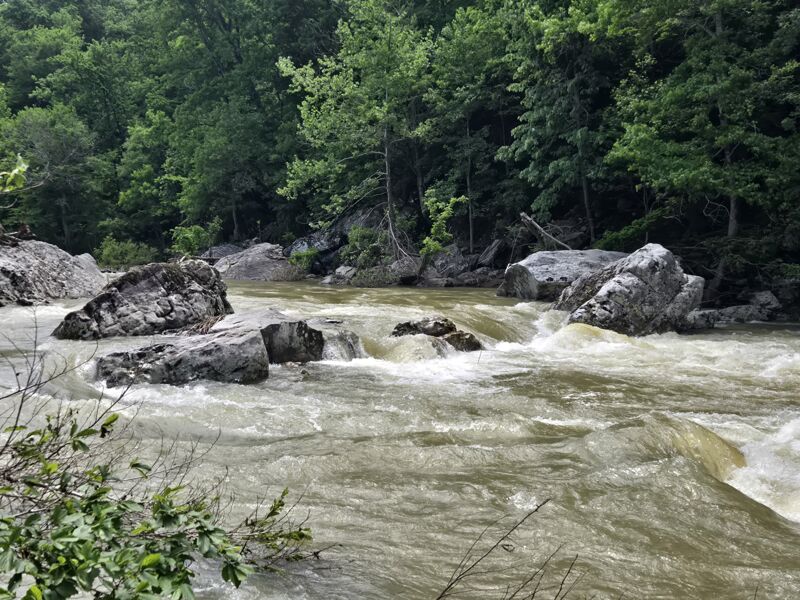
This is a long, remote, breathtaking run. The vast majority of the run, starting .5 miles past Dixon Ford, and continuing until 1 mile before the Boxley Bridge is inside the Upper Buffalo Wilderness Area. The first 10 miles of the wilderness are managed by the US Forest Service and the bottom 4 miles are managed by the National Park Service. The section of this run inside the National Forest is also managed as a part of the Wild and Scenic River system, one of 3 such rivers in Arkansas (along with Richland Creek and Hurricane Creek) with this designation. Finally, the 135 miles of the Buffalo from the National Forest border to the White River are managed as the Buffalo National River - America's first National River. The only sign of development in the gorge is high on the left bluff at Whitaker Creek (Mile 8.6). This is the former home of wilderness photographer Tim Ernst. His journal and photographs can be seen at timernst.com, and he also has a Facebook Page, Tim Ernst Photography of Arkansas and other wild places.
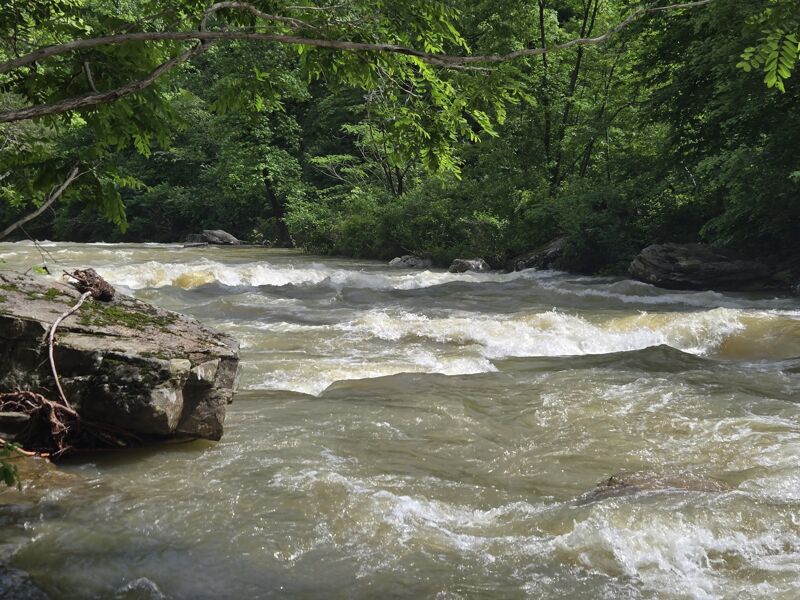
The first couple miles of the run consist of mainly shallow Class II bedrock shoals and small ledges, offering countless surf waves as the walls of the gorge begin to grow. Be careful of the numerous areas where this bedrock is undercut along the banks.The action picks up when boulders begin to appear in the stream creating several class III to III+ rapids for the next couple miles.The difficulty subsides after the 'Room of Doom' rapid, but regains intensity below Whitaker Creek. Large boulders again populate the streambed and create several rapi
...
Driving to Dixon Ford requires high clearance and 4WD, crossing a giant mudhole, and turning around in very little space. You'll cross at least one, if not two small streams (depending on how much rain has fallen) but once you've hit the main river there will be a small primitive camping area on the left side of the road, and the main river in front of you... This is the put in. Don't try to ford the river at floatable levels in a vehichle, it probably won't end well. You can park in the primitive camping area, just past the mudhole on the right where a number of trees have been cut down, or before the mudhole in a dead end spur with an old gate. Do not block the main road to the river, as other boaters might be putting in after you, and the road is used by off-road vehicles in all weather.
First Notable Drop - 2 Boulders constrict the flow into the middle, good waves below. Straight forward run down the middle. Named such because it looks like the larger 'Double Drop' that is to quickly follow.
Several Large Boulders congest the middle of the river, with only a channel to the left down over 2 shelf ledges. Entrance is straight forward, and just stay in the flow between the rock shelf on the bank to the left, and the boulders to the right. Good pool for recovery at the bottom if something goes wrong. At medium flows (>1000cfs) there is a sneak line that opens up far river right.
The first (of many) major triburtaries enters the Buffalo here. There is a large gravel bar river right that makes a great place to stop and take a break.
Several Ledge Drops that form big curler waves at levels >1000CFS. Great Spot to stop and Surf, just don't swim here cause you'll swim into the bigger Mix Master drop below.
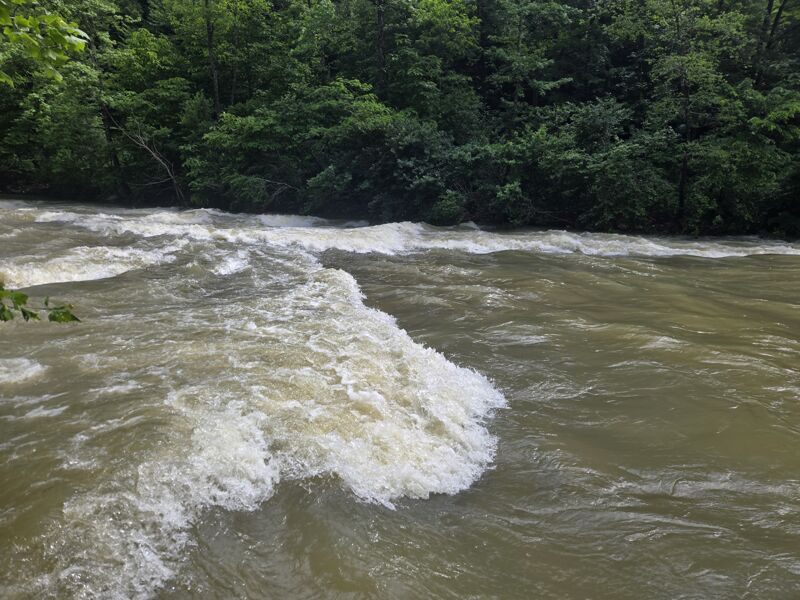
River gets constricted to half it's normal width by a large rock shelf river left, while also dropping over a series of ledges, make for one of the better multi-move rapids on the Hailstone. Line up river middle and aim to punch the right side of the first V wave on the right side... then punch a second diagnol left-to-right, then square up for the final drop into the surfin' hole. Punch the hole clean, go in backwards to surf on the fly, or, at higher flows, power left into the large eddy just under the rock shelf. A few smaller surfing waves finish the rapid up. Good eddy service river left or river right to surf the main hole. Don't get too far left on the approach or you'll dry out on the shelf, or worse, get into a manky pourover where the shelf abruptly drops off, but the water doesn't pad it.
Lead in pool goes to the left, and then comes back around to the right - but on the approach you can see a very noticable rock bluff ahead on river left. As you get closer, you'll notice a very obvious undercut (at all but the highest of water levels) at the bottom of the bluff. This is the 'Room of Doom' at the bottom of the rapid. The rapid itself is a series of 3 good drops, the first and second are clean and straight forward, but the 3 drop has a large rock roughly left of center. Left of this rock is a nasty pourover hydraulic in the worst possible spot leading right into the undercut bluff. Best approach is to start middle river, then hold a consistent river right angle thru 2 drops, then hit the final drop to the right side of the mid-stream rock. Once at the bottom, paddle right into a well defined and large eddy with a good rock beach and watch for your buddies coming down.
Terrapin Branch tributary enters river right. Notable Waypoint 1/3rd of the way.
Boen Gulf Branch Tributary enters the Buffalo here on river right. This is basically the halfway point of the run.
Whittaker Creek enters the Buffalo from the left here. On clear days you can make out Hawksbill Crag up the valley. You can also sometimes see the former home of Tim Ernst river left on the bluff above Whittaker Creek here.
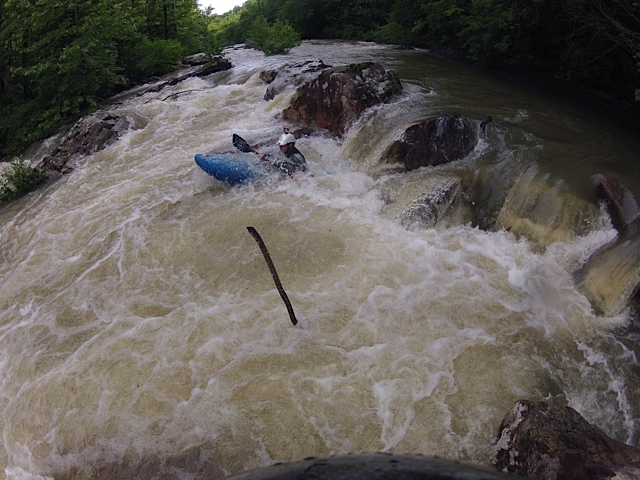
Largest single drop on the Hailstone. Large boulders congest the middle of the river, causing a pool and a nice 5' drop into a strong hole. 2 main ways to run it... 1st: just come in with the river flow, have a slight left angle, get on the tounge and a strong delayed boof to push you over the hole (Be careful not to lean too far right) or 2nd: Catch the eddy directly above the drop on river left, line up, and boof hard left to right. Either way, just go in with some speed to clear the hole, or you WILL get endered and worked. You can also purposely dry out on the large rock directly in the middle of the river and scout and/or set safety directly above the drop. As of Spring 2025 there is also now a well defined 'raft line' to the far right of the rocks that didn't used to exist before the November '24 flood. The right raft line requires navigating around 2 large semi-submerged rocks mid-flow in strong current, but doesn't have the sheer 'drop' factor of the keyhole itself to the left. Additionally there is one more line that is a notch between the two large boulders that comes into play >1500cfs. Ran the first (and only time I'm aware of) on June 5th, 2025 at an estimated flow of 1700cfs. It's a tight squeeze, but with a snappy boof and a good landing, it's a great alternative to running the spicy left line hole, or the boring right raft line on a higher flow day.
Class III Boulder Garden. Needs pictures and research.
Another class III Boulder Garden. Needs pictures and research.
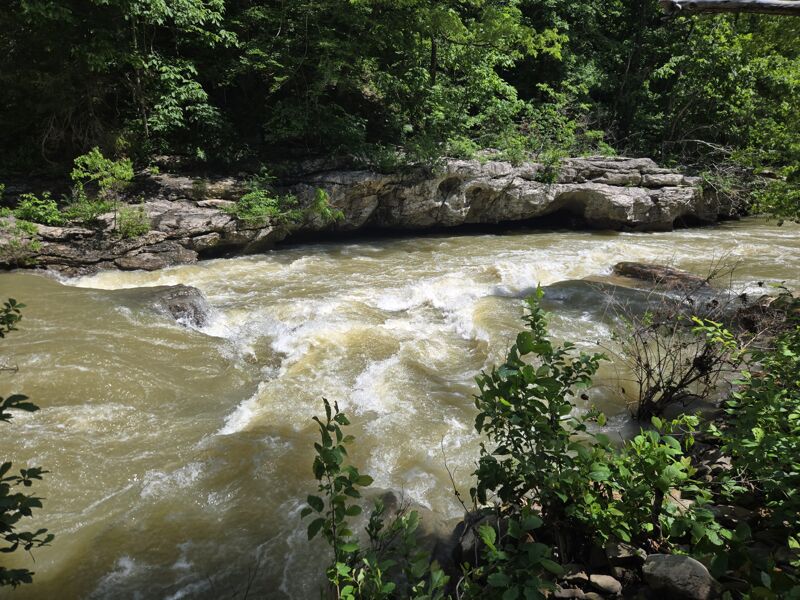
Clean Drop Down the Middle between two large boulder. At higher flows lots of other lines exist, but the main 'falls' is the best clean drop. At lower flows (<700cfs) there is a submerged rock below the falls that starts to show up and can be a hazard. Above 1000cfs it's not in play.
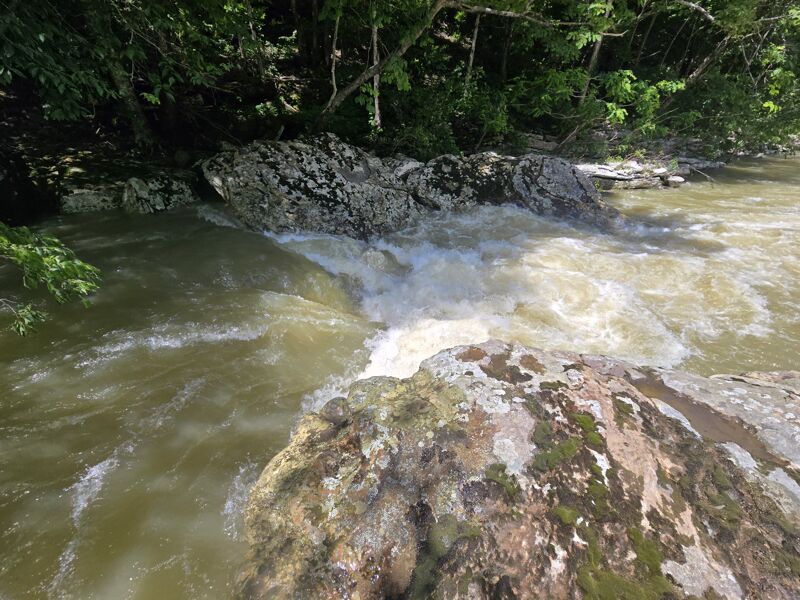
Class III Boulder Garden. Just pick your way between the multiple large Rocks everywhere. Many are shaped like Tombstones and will happily catch an edge and flip a Kayak, or totally bounce and reject a raft.

Last major move of consequence, also signifies the end of the 'Gorge' and beginning of the Boxley valley. Simply stay left of the huge midstream rock, and don't even think about running the narrow crack between the boulders in the middle. There's always wood in there, and getting someone unpinned would be a nightmare. There is only one riffle of note below this, and then the river widens out and flattens. Beware the willow jungle still to come though.
The Boxley USGS Gauge is here on the right channel. Look for a physical stick gauge left side of the right channel (which technically could be a hazard if you plowed into it).

The Boxley 'Willow Jungle' starts here. You basically just have to go slow, and pick your way thru. As of Spring 2025 there is a lot of debris from the Fall flood in here too, so take it very slow and easy. There is no real place to 'scout' but you can kind of eddy hop thru things. Stay straight, don't get broached.
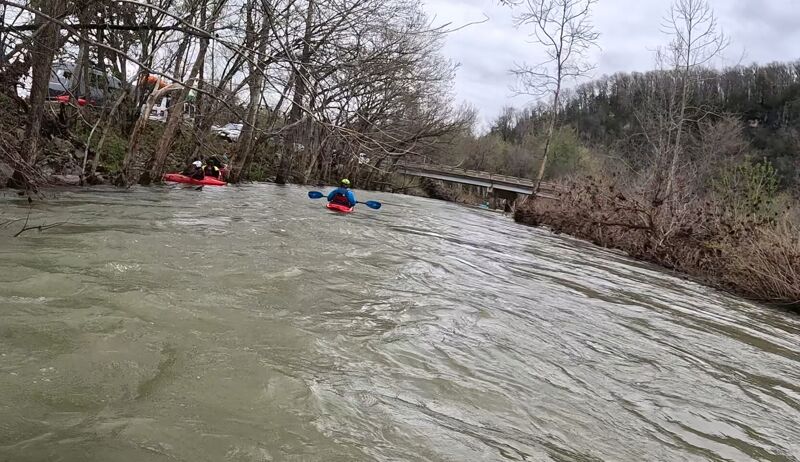
Take Out at the Boxley Bridge, River Left. Kayaks can get out before the bridge into a small eddy with a well defined trail to up to the Parking Area. Rafts and Larger boats should go under the bridge, and take out immediately past river left onto the large bank area.