Taylor
bl. Marten Creek to MF Snoqualmie

Jan 14, 2010
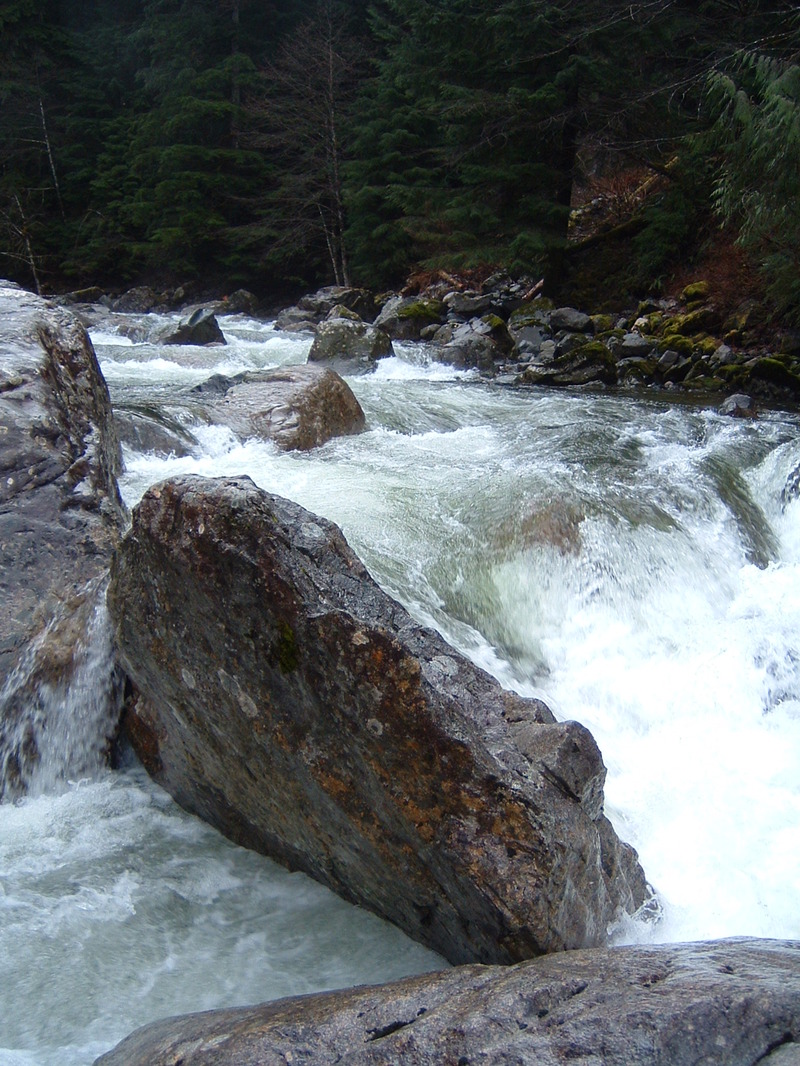
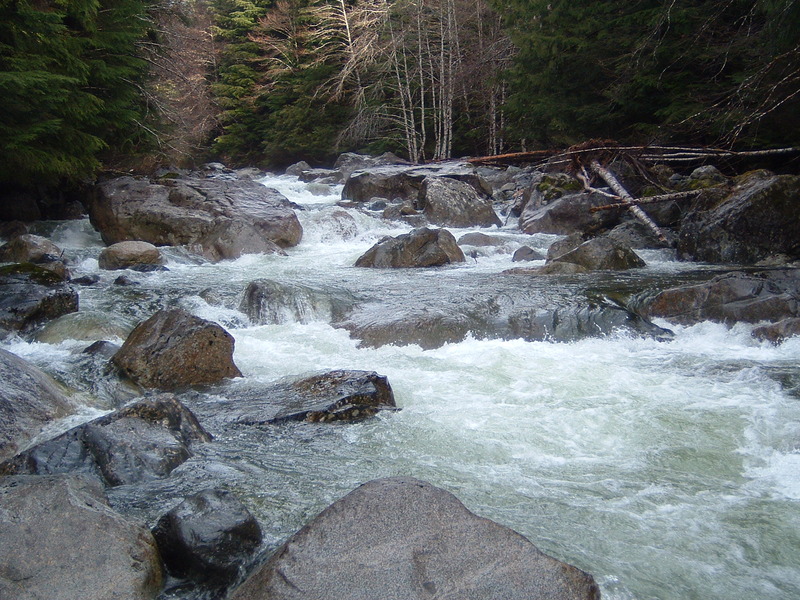
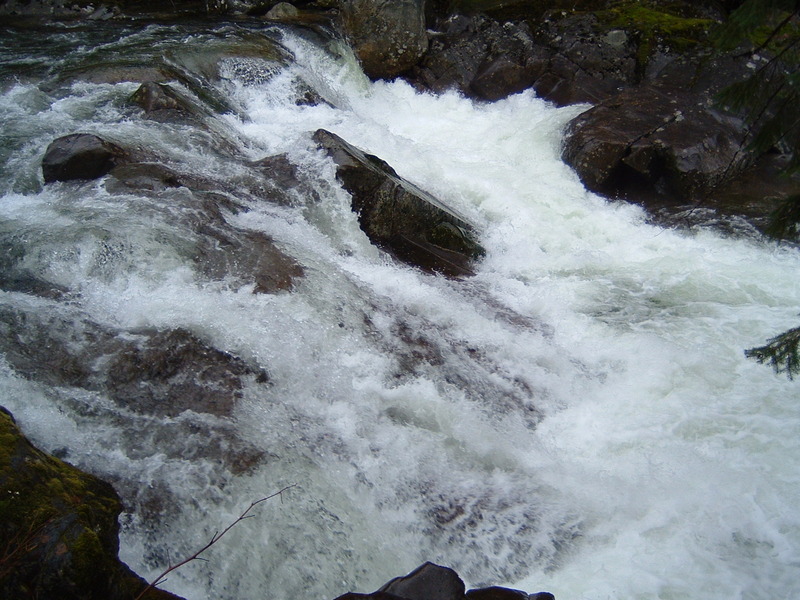
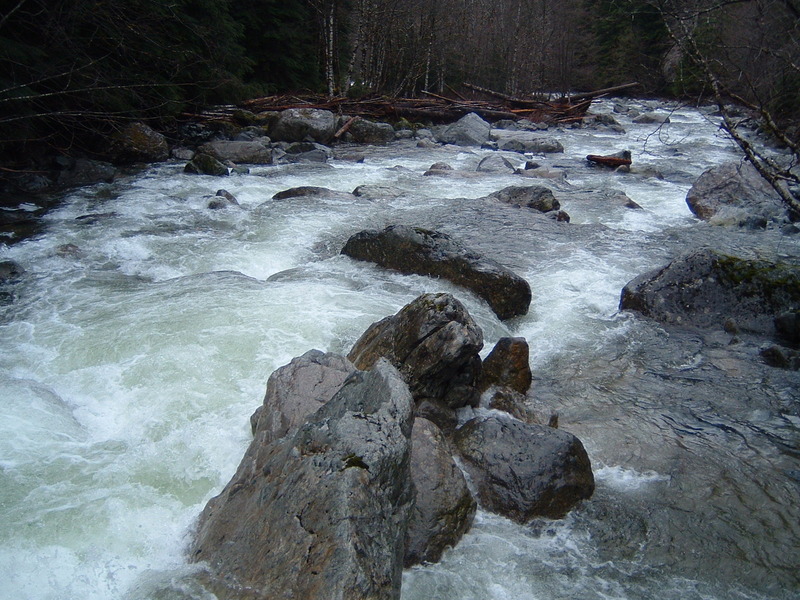
he drop starts with a series of two channels that pass between two or three successive rows of boulders, which funnel most of the flow directly towards a large boulder in the center of the stream.
At lower flows the left line looked mankier, and the right line fairly tight to shore. Scout to determine if door number one or door number two is the best call.
MM Gauge at ~1600
Jan 14, 2010
1/10/10. ~1600cfs on the MM gauge.
Jan 14, 2010
View from below.
MM @ ~1600 cfs
Jan 14, 2010
View from the base of the prominent boulder mid-rapid. A pourover just to the (river) left of the main boulder visible in the photo from above the channeled most of the water at this flow, and the hole at the base kicked a reasonable amount of the flow under this rock. May or may not be in play at boatable flows. Scout from the left blank and make your own call, or just run well left of the boulder/channel.
Jan 10, 2010
MM @ ~ 1600cfs
Jan 10, 2010
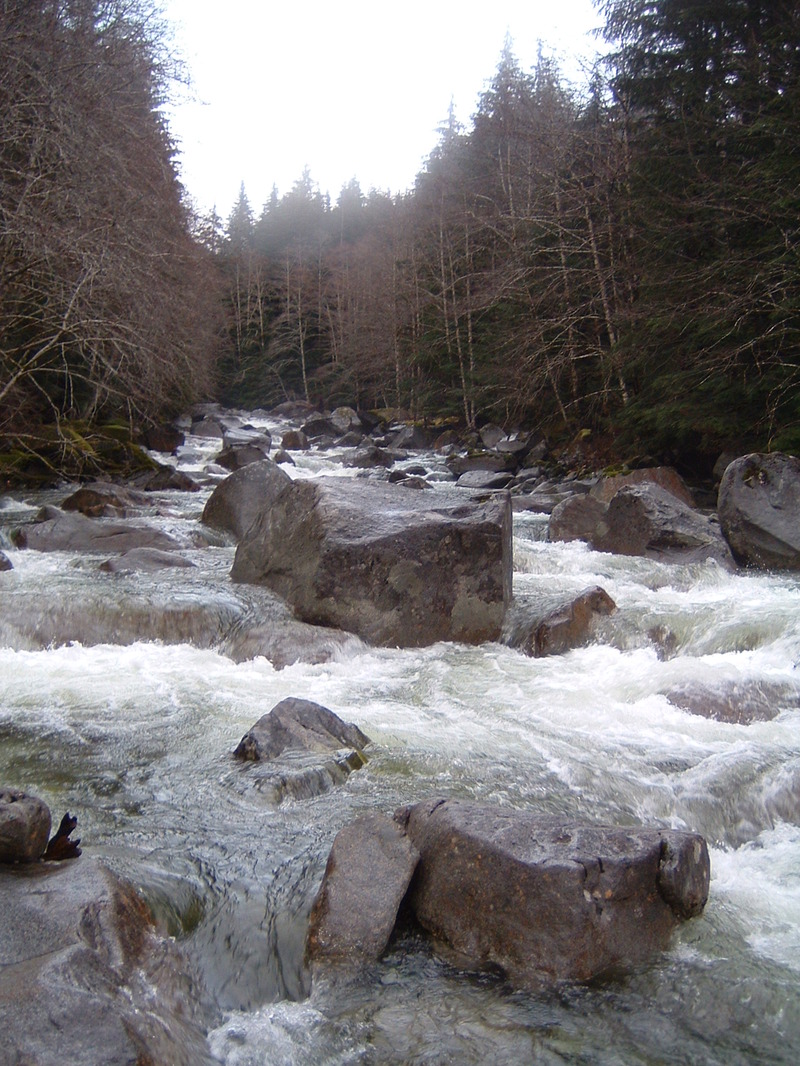
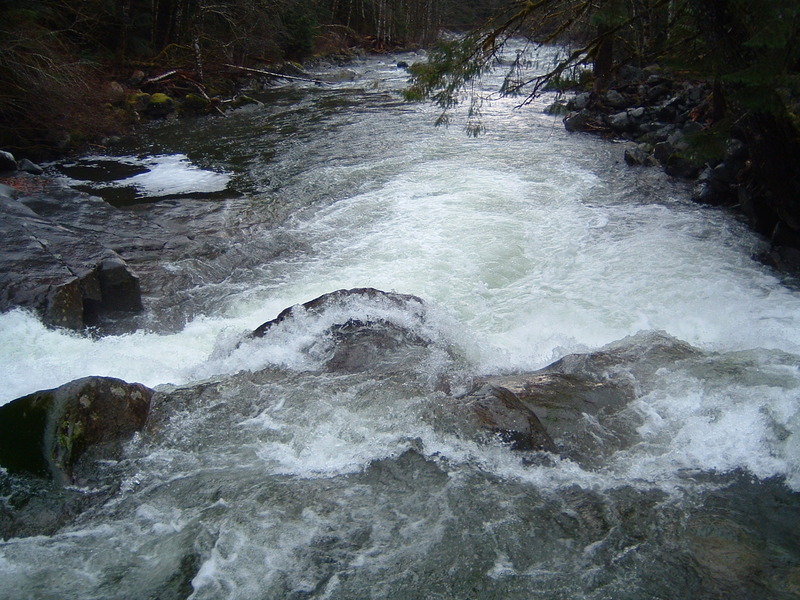
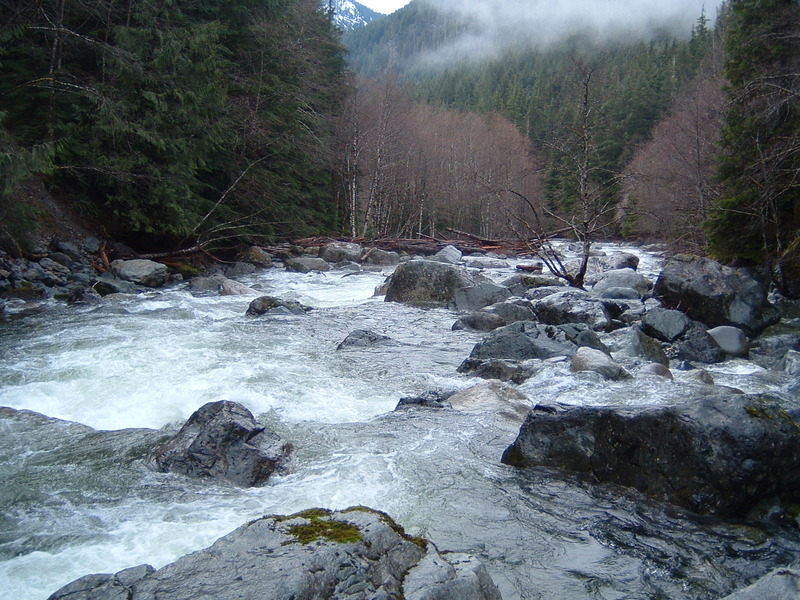
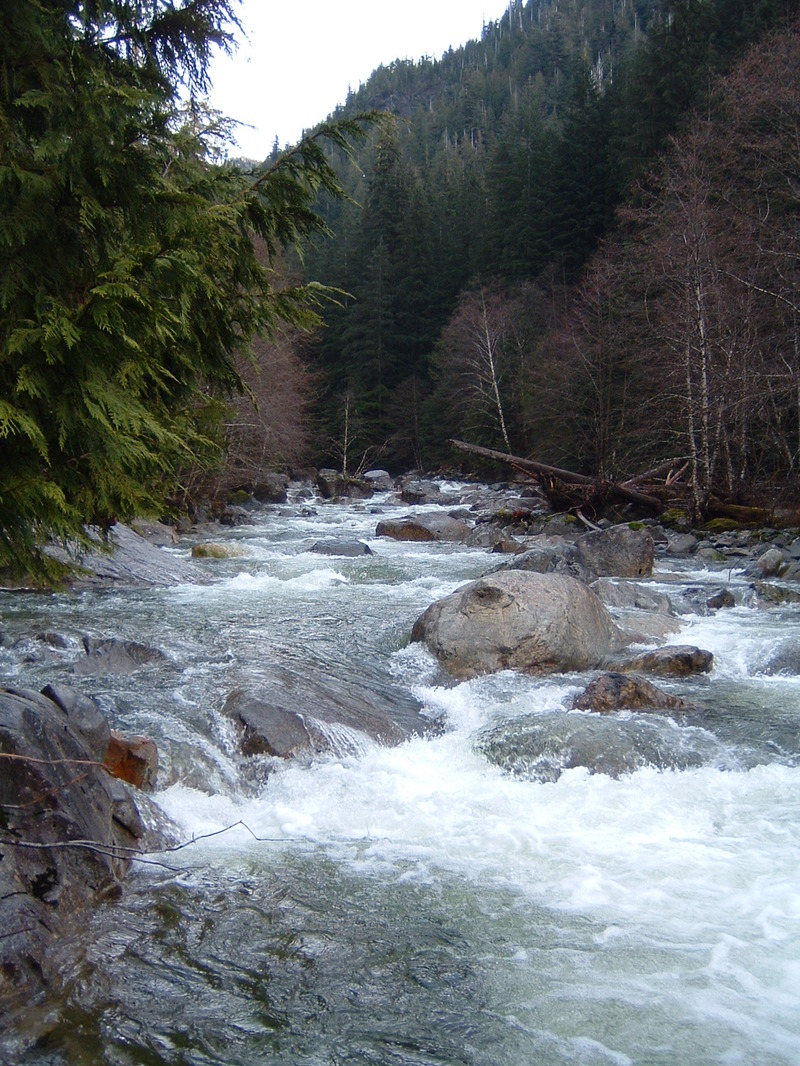
After the third IV, there's another quarter-mile-ish stretch of continuous gradient ~III water that leads to the final drop of any consequence before the takeout - an 8-12 foot ledge that defines the horizon line in this photo.
Jan 10, 2010
MM at ~1600
Jan 10, 2010
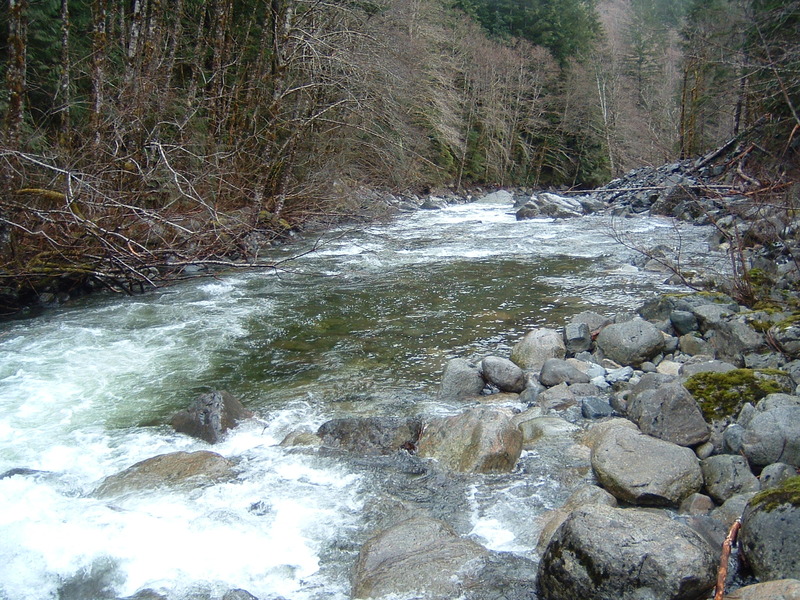
View from above the rapid, river right. No rapids of any consequence between this drop and the upper or lower takeouts.
Jan 10, 2010
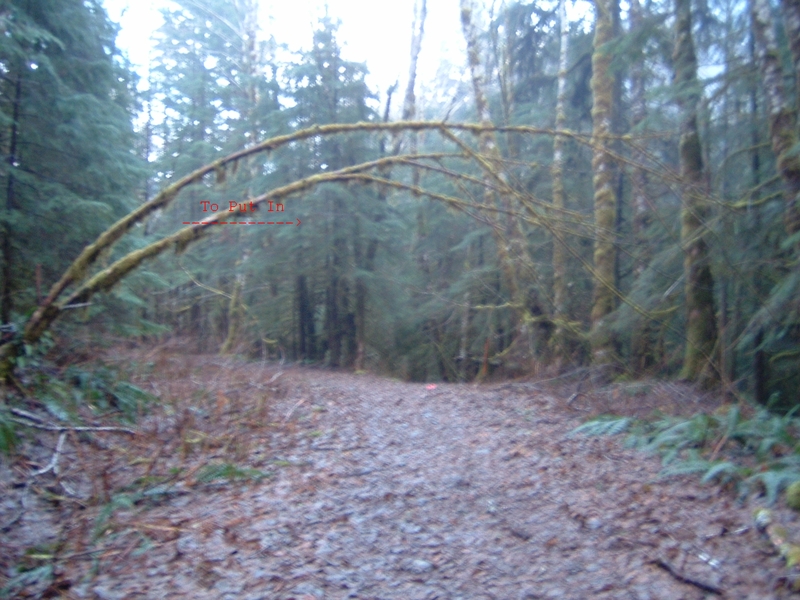
Hike roughly 1 mile (~ half hour with no pack, hour lugging a boat) from the upper parking lot and look for the first significant junction with a trail leading to the right. Follow this trail for ~ an additional 5 minutes to reach the river, just above the first drop.
Look for a large jumble of old-growth trunks just to the left of the trail, and an alder arched over the trail just after that for signs that you are getting close to the spur leading to the river.
Jan 10, 2010
he drop starts with a series of two channels that pass between two or three successive rows of boulders, which funnel most of the flow directly towards a large boulder in the center of the stream.
At lower flows the left line looked mankier, and the right line fairly tight to shore. Scout to determine if door number one or door number two is the best call.
MM at ~1600
Jan 10, 2010
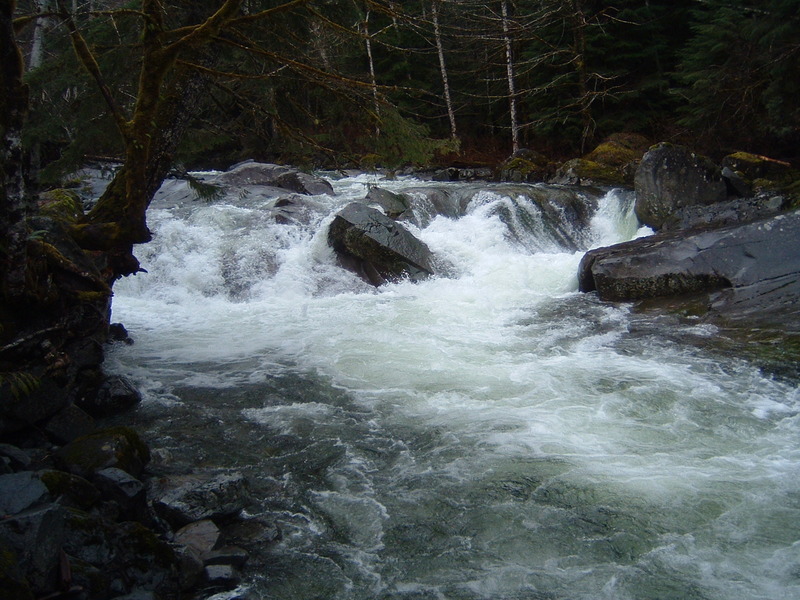
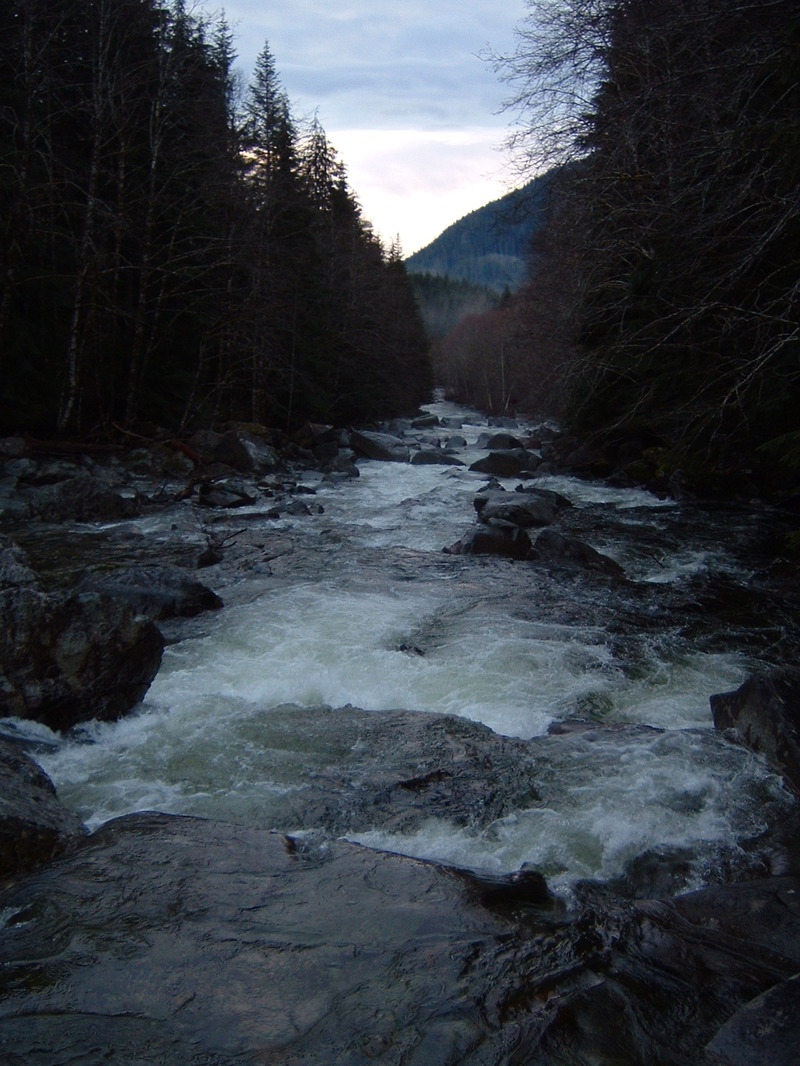
After you reach the end of the first drop, expect roughly 1/4 mile of IIIish water before the river makes a hard break to the right around a blind corner, just beyond which you'll encounter this drop.
Note the tree in the center of the photo. The prominent boulder visible on the horizon line creates a pourover to its left. At lowish water there's a sieve just right of the hole at the base of this pourover that that may or may not be in play at boatable flows. Scout from the river left bank and make your own call.
Jan 10, 2010
This drop is just out of sight from the bridge above the upper parking area.
At this flow most of the water was pouring over the line on the left, a left-to-right pourover into a boiling pocket backed by a large boulder that kicked the froth back out to river right. There was also a small channel just to the right of the pourover, and a shallow ramp on river right that might be options as well. Scout from river right.
Jan 10, 2010
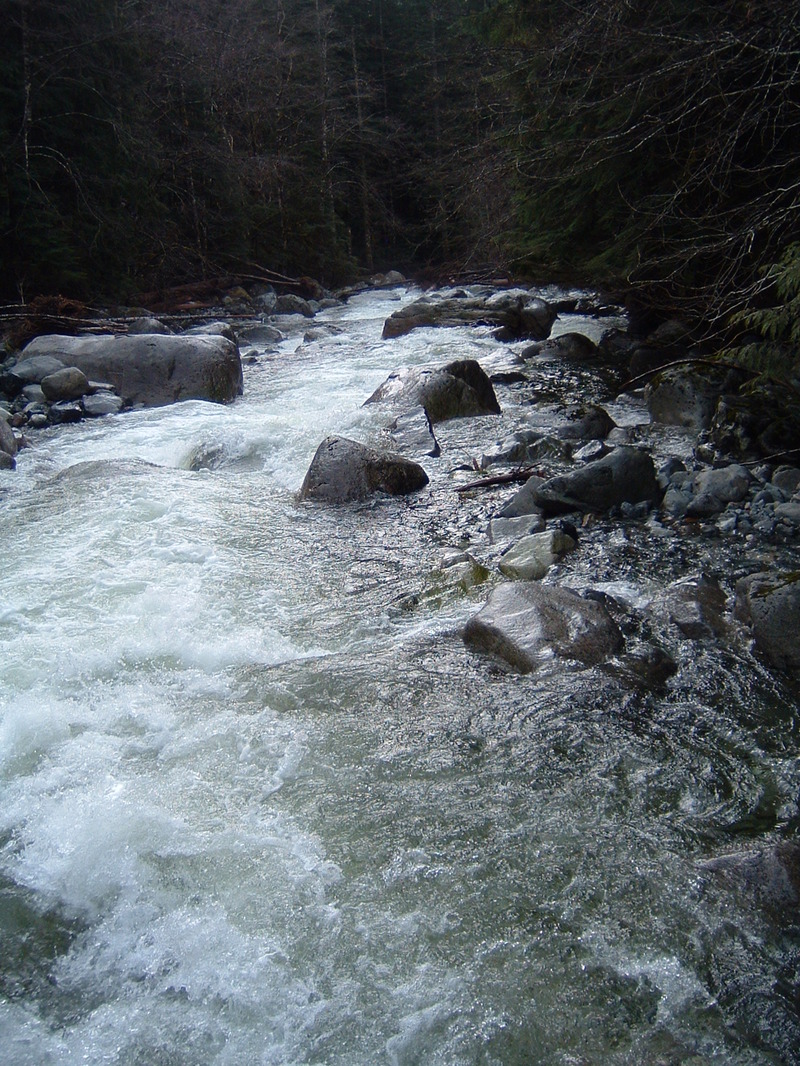
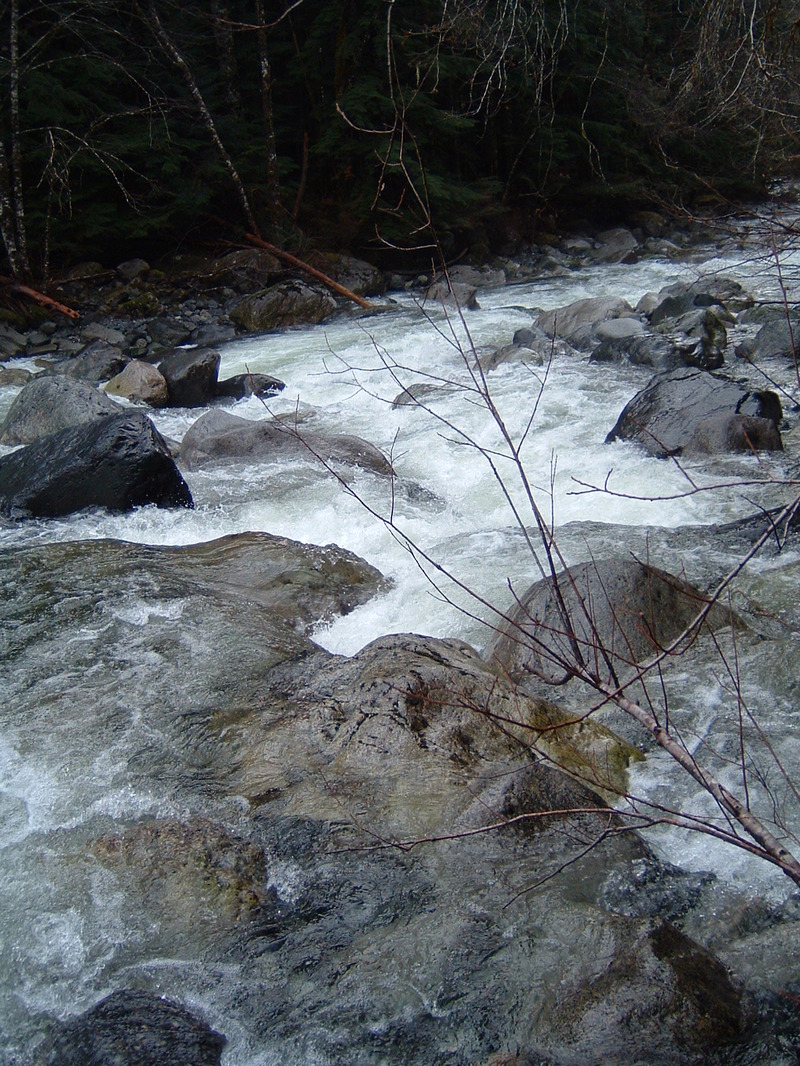
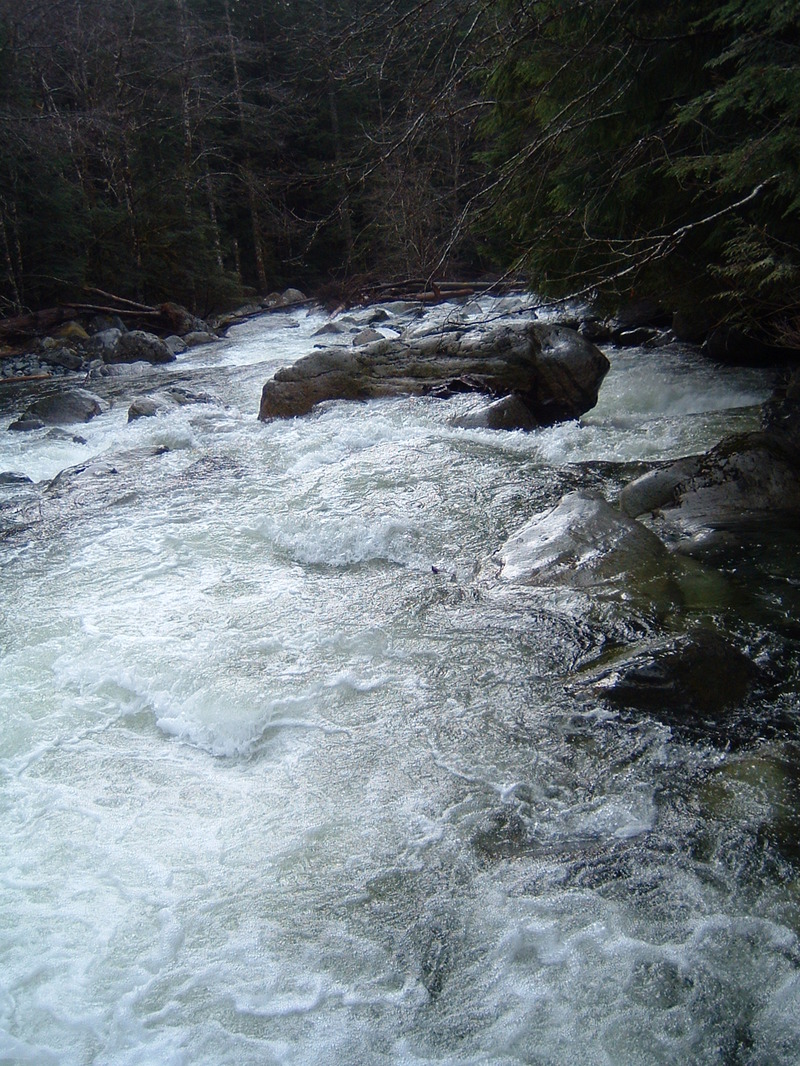
View from near the top of the first class IV rapid. 1/10/10. ~1600cfs on the MM gauge.
Jan 10, 2010
1/10/10. ~1600cfs on the MM gauge.
Jan 10, 2010
1/10/10. ~1600cfs on the MM gauge.